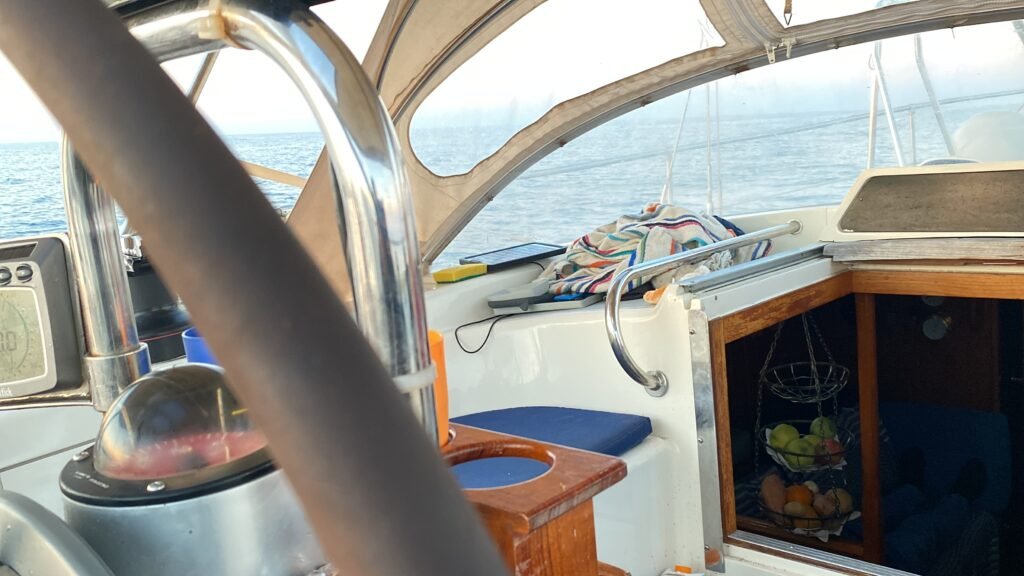
Finding a Raymarine Autopilot for My Moody 376
My old autopilot had finally given up, although if I’m being fair, it had been giving me grief long before it actually died. In decent seas it was pretty useless, and I’d already had more than my share of sleep-deprived days trying to manage the boat without being able to trust it.
By the time I was in Spain dealing with yet another major job on HOBO — removing a rusted fuel tank and rebuilding the engine — I knew I couldn’t put off replacing the autopilot any longer.
I needed to get the boat seaworthy and get moving towards Gibraltar. I was sailing single-handed, so leaving without a dependable autopilot simply wasn’t something I wanted to do
I spent hours researching different autopilot systems, talking to other sailors around the marina and measuring every possible space aboard HOBO.
The conventional option was to install a drive connected directly to the rudder system. On paper it sounded straightforward. On my Moody 376, it was anything but.
The space I needed was underneath the double berth in the aft cabin. Making the system fit would have meant moving the battery bank, cutting into existing fibreglass and then rebuilding parts of the structure around the new installation. It was becoming a major reconstruction job before I’d even bought the equipment.
Time was also becoming a serious problem. I needed to get the boat ready to leave Spain, and I couldn’t afford to turn the aft cabin into another long-term project.
After talking it through with a couple of people, I started looking at another solution: a chain-driven autopilot connected to the steering system, with the drive motor mounted beneath the steering column in the engine-room area.
That looked like the answer.
Going for a Chain Drive Instead
Eventually I brought in a specialist to look at the boat and talk through the options.
After inspecting HOBO’s steering arrangement, we agreed that the chain-drive solution made far more sense than tearing apart the structure underneath the aft berth
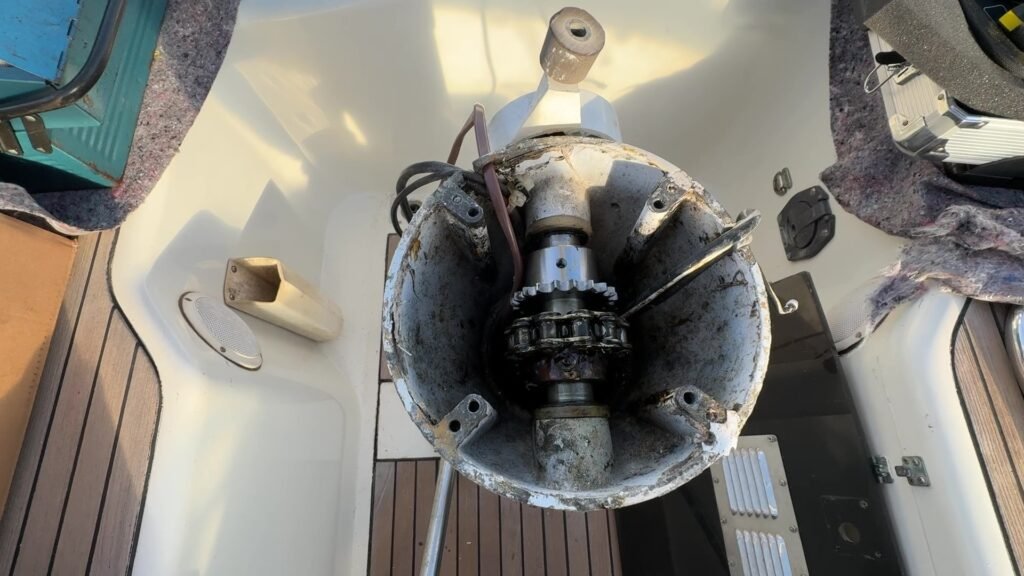
The drive motor could be positioned beneath the steering column, with the motor housing tucked into the upper part of the engine room.
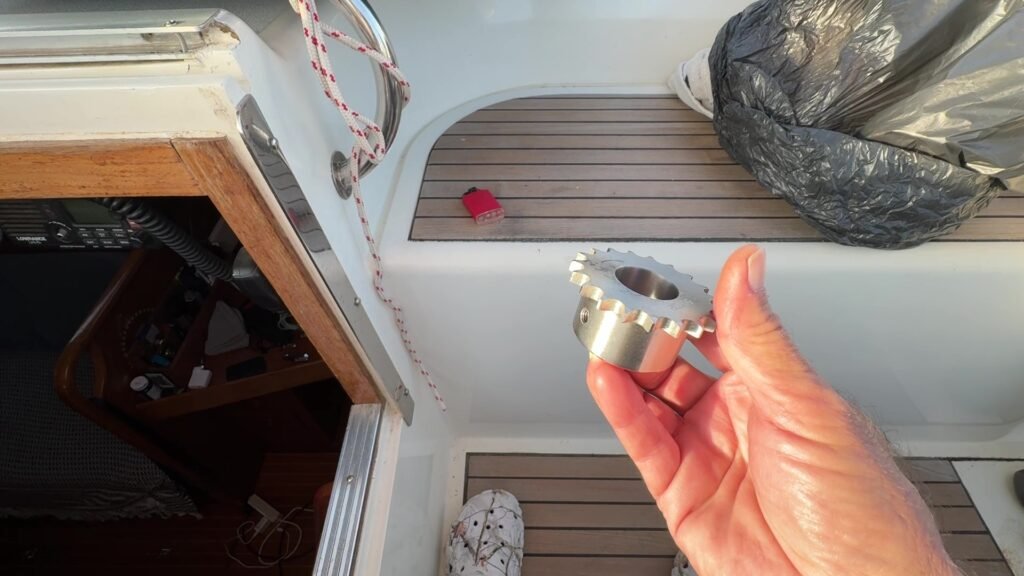
There was still a complication. This wasn’t going to be an off-the-shelf installation. A special cog or sprocket had to be manufactured so the chain drive could connect properly into HOBO’s steering system and the autopilot motor.
The specialist told me the fabrication would take a few days, and the Raymarine equipment also had to be ordered. He needed a deposit to cover the equipment, although not the labour, so I agreed and paid it.
I’d already spent plenty of time checking prices and alternatives. Marine equipment in Spain wasn’t cheap, but travelling elsewhere to buy everything would have cost more time and created another problem getting it all back to the boat.
By this stage, time mattered more than hunting around trying to save every last euro.
Sometimes with boats you just have to open the wallet and get on with it.
Pulling the Steering Apart
Before the specialist returned, I decided to do as much preparation as I could myself.
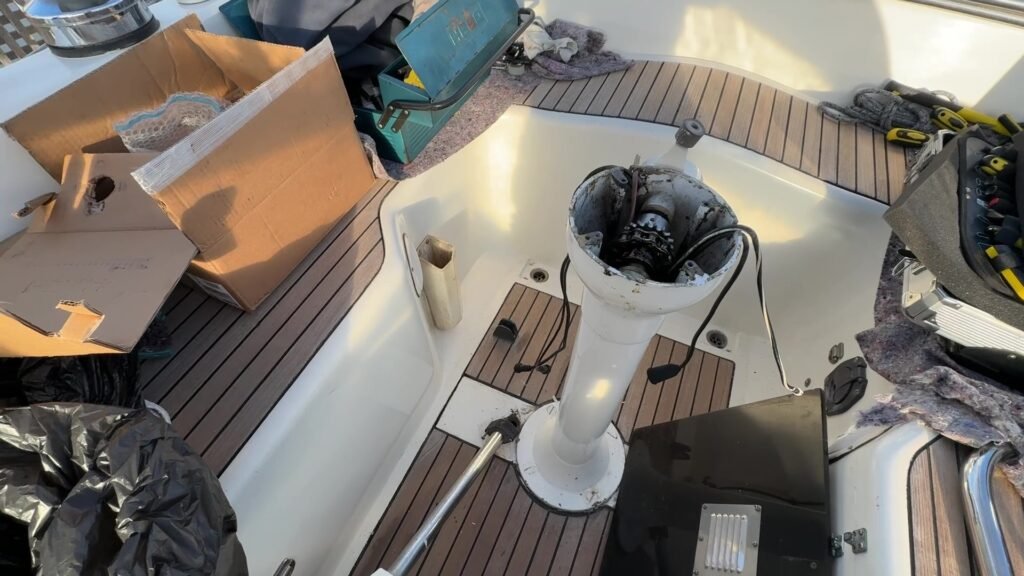
I removed the steering wheel, took out the cockpit table and stripped everything down pretty much to the top of the steering column. The idea was to give the installer clear access so that when he arrived, he could get straight into the job.
By now we were into December, and the clock was starting to work against me.
A week passed after I’d paid the deposit and I hadn’t heard anything. With Christmas getting closer and my planned departure for Gibraltar hanging over me, I was starting to get concerned.
Eventually I asked Rosa to give him a call and find out what was happening.
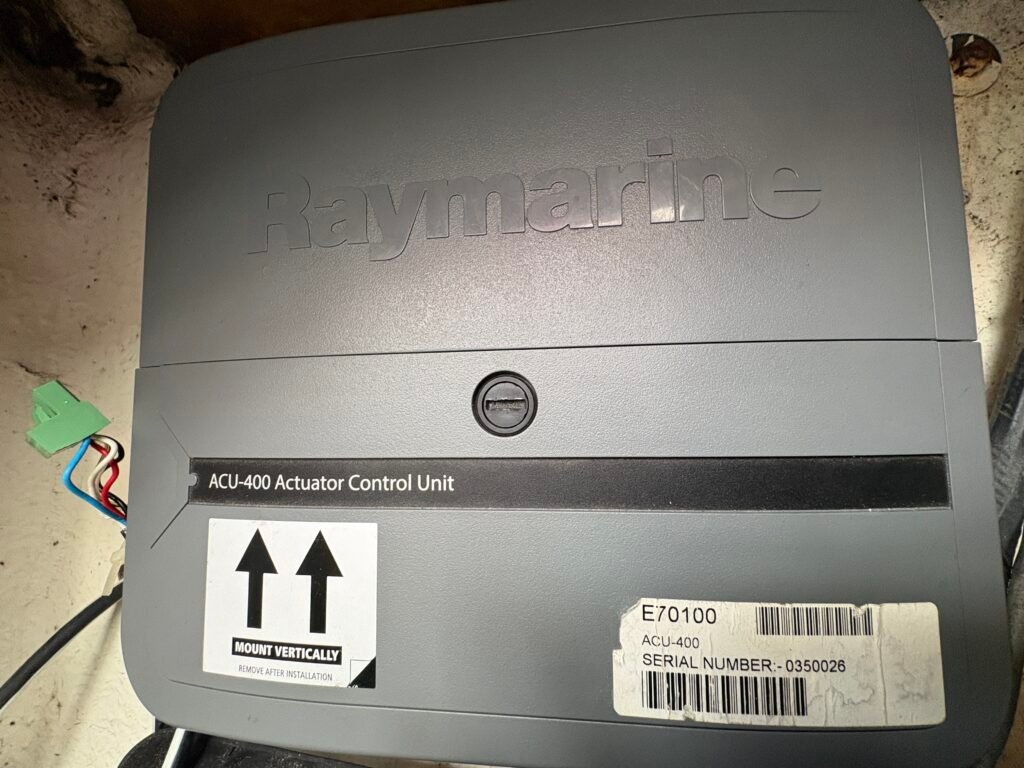
About five days later he arrived at HOBO with the Raymarine ACU-400, but not the rest of the equipment. There was still no drive motor or the other components needed to finish the system.
He started by installing the ACU-400. There were a few problems along the way and several trips backwards and forwards to his workshop, but after another few days it was finally installed.
Then I had a closer look at it.
Hang On — This Isn’t New
I was looking over the installation when something caught my eye.
The ACU-400 that had been fitted to HOBO didn’t appear to be new.
That was a problem. I was paying for new Raymarine equipment, and new equipment was what I expected to be installed on the boat.
I wasn’t happy. I got the installer back to HOBO and made it clear that I wanted the unit removed.
By now the calendar was becoming a serious problem. We were getting close to Christmas, and every extra delay meant another day I wasn’t getting any closer to leaving Spain.
Around ten days before Christmas, the installer returned with a new ACU-400 and the rest of the new Raymarine equipment. The specially manufactured cog for the chain-drive system was still outstanding.
The whole episode taught me one simple lesson:
If you’re paying serious money for new marine equipment, check what is actually being installed on your boat.
Don’t assume. Check.
Then Came Another Problem
With the new ACU-400 and the rest of the equipment finally arriving, I thought we were getting somewhere. By now, though, we were only about a week away from Christmas.
Most of the system was installed, but then another problem appeared. The control panel at the helm — the part I would actually use to operate the autopilot — wasn’t working as it should.
And the timing couldn’t have been worse.
We were now only a couple of days from Christmas. There wasn’t enough time to sort the problem before everything effectively shut down for the holiday period, and I was told the job couldn’t be finished until early January.
My heart sank.
This wasn’t happening in isolation. I’d already been dealing with the rusted fuel tank, work on the engine and one delay after another. What should have been a series of repairs had turned into months of problems.
By this stage HOBO was around seven months beyond the period I had originally expected her to remain in Spain. I was already trying to deal properly with the Spanish authorities and had been preparing letters explaining the circumstances surrounding the delays and the fact that the boat had not been ready to leave.
All I wanted now was a seaworthy boat, a working autopilot and a weather window to get to Gibraltar.
Instead, Christmas had arrived and I was still tied to the dock.
January — Finally Getting Out of Spain
Eventually the installer returned in January and finished the job. At last, after all the delays, HOBO had a working autopilot.
On 12 January, I left Spain.
After everything that had happened, I wasn’t interested in hanging around. I headed offshore towards the 200-nautical-mile limit and then began working my way down towards Gibraltar.
Of course, HOBO had one more surprise waiting for me.
Electrical problems, combined with bad weather, forced me to call back into Spain before I could continue the passage. It cost me another couple of days, but eventually I got underway again.
I finally reached Gibraltar around 18 January.
After months of repairs, delays and frustration, getting HOBO into Gibraltar was a pretty good feeling.
But there was something else I was very pleased about.
The new Raymarine autopilot had finally been given a proper test at sea — and it was excellent.
What Did It Actually Cost?
Now for the painful bit.
The quotation for the Raymarine equipment, chain-drive components and installation came to €7,760.94 including Spanish IVA (VAT).
The equipment and work I paid for included:
Autopilot drive motor — €2,085
Raymarine ACU-400 EVO Actuator Control Unit — €2,243
Rudder position transducer — €331
SeaTalkNG cabling kit for Evolution autopilots — €236
13-tooth sprocket — €121
Drive chain — €98
Workshop materials — €20
Autopilot installation labour — €1,280
That brought the subtotal to €6,414, with €1,346.94 IVA, making the final total €7,760.94.
The original quotation also noted that the steering-pedestal sprocket and mounting supports still had to be dealt with, which gives you some idea why this wasn’t simply a case of buying an autopilot and bolting it onto the boat.
Nearly €7,800 for an autopilot installation is serious money, and certainly more than I’d originally hoped to spend.
But there’s one important part of this story that shouldn’t get lost amongst all the problems:
Once I finally got HOBO out to sea, the Raymarine autopilot was excellent.
After the problems I’d had with my old autopilot, particularly sailing single-handed in decent seas, having something I could actually trust made an enormous difference.
So despite the installation saga and the hit to the wallet:
Money well spent.
What I’d Do Differently Next Time
If I were doing a major autopilot installation again, particularly on an older yacht, there are a few things I’d keep in mind.
First, don’t assume the installation shown in a brochure will physically work on your boat. Older yachts have battery banks, tanks, structural fibreglass, steering components and years of modifications occupying the very places where the nice installation diagram says your new equipment should go.
Second, spend plenty of time measuring and investigating alternatives before anybody starts cutting the boat apart. In my case, changing from a direct-to-rudder installation to a chain-driven system saved me from major reconstruction underneath the aft berth.
Third, allow considerably more time than you think the job will take. Custom fabrication, parts availability, unexpected problems and Christmas holidays can turn a relatively straightforward project into weeks of waiting.
One other thing I’d do differently is make sure that, wherever possible, anyone installing Raymarine equipment was properly trained and experienced with Raymarine systems. When you’re spending this sort of money on equipment that you may depend on offshore, I want the installation and commissioning done by someone who really knows the system.
And finally, check every piece of equipment being installed.
If you’ve paid for new equipment, make sure that’s what you’re getting.
The Verdict
For HOBO, the chain-driven installation turned out to be the right solution.
It avoided major reconstruction underneath the aft cabin, allowed the drive to work with the existing steering arrangement and, most importantly, gave me an autopilot I could finally trust.
And after everything I’ve written about the installation, I want to make one thing very clear: I was extremely happy with the Raymarine equipment itself.
Once I finally got HOBO back out to sea, the autopilot performed exactly as I’d hoped. For a single-handed sailor, being able to trust the boat to hold course while I deal with sails, navigation, food, equipment or simply get a break from the wheel is worth a great deal.
Would I choose Raymarine again?
Yes.
Would I approach the installation differently?
Absolutely.
The road to getting there was considerably rougher — and more expensive — than I’d expected, but the finished system was money well spent.
Then again, that’s sailing.
Sometimes the hardest part of the voyage happens before you’ve even left the marina.
— Captain Hobo